

At least once a month someone asks me how I create graphics for my social media posts, blog articles, and ad images. These picture-quotes and infographics are wonderful way to capture your audience’s attention. Plus, they provide a branding opportunity if you watermark your images.
In today’s article, I’m sharing my secret for a super easy tool that’s free to use. I’ve used Quark, Gimp, and Photoshop. But, these programs can be quite intimidating and take a long time to learn how to use. What if you want an image today? What option do you have besides paying a graphic designer?
» Did you know you can use Google Drive to create graphics?
Google Drive is like Microsoft Word, Excel, and PowerPoint all in one. It’s accessed online and linked to your gmail account.
 I love Google Drive because I maintain a mobile office. It allows me to access my files without having to carry around my laptop. Plus, if my computer crashes I can still access all of these files from a different computer. Talk about peace of mind!
Using Google Drive Drawings to Create Shareable Graphics
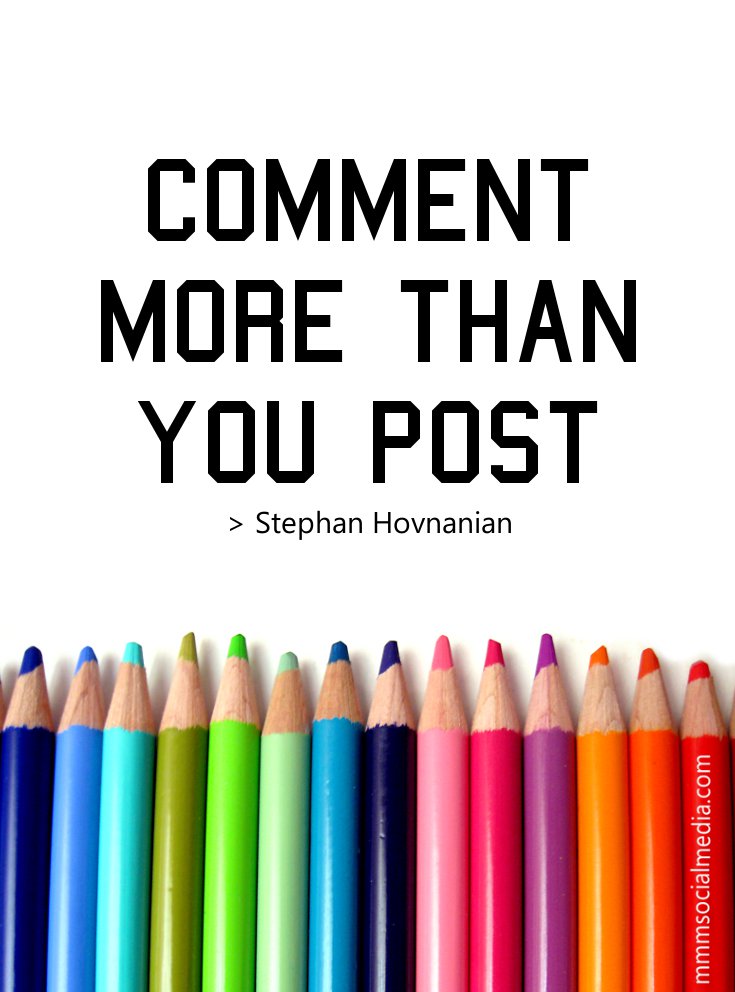
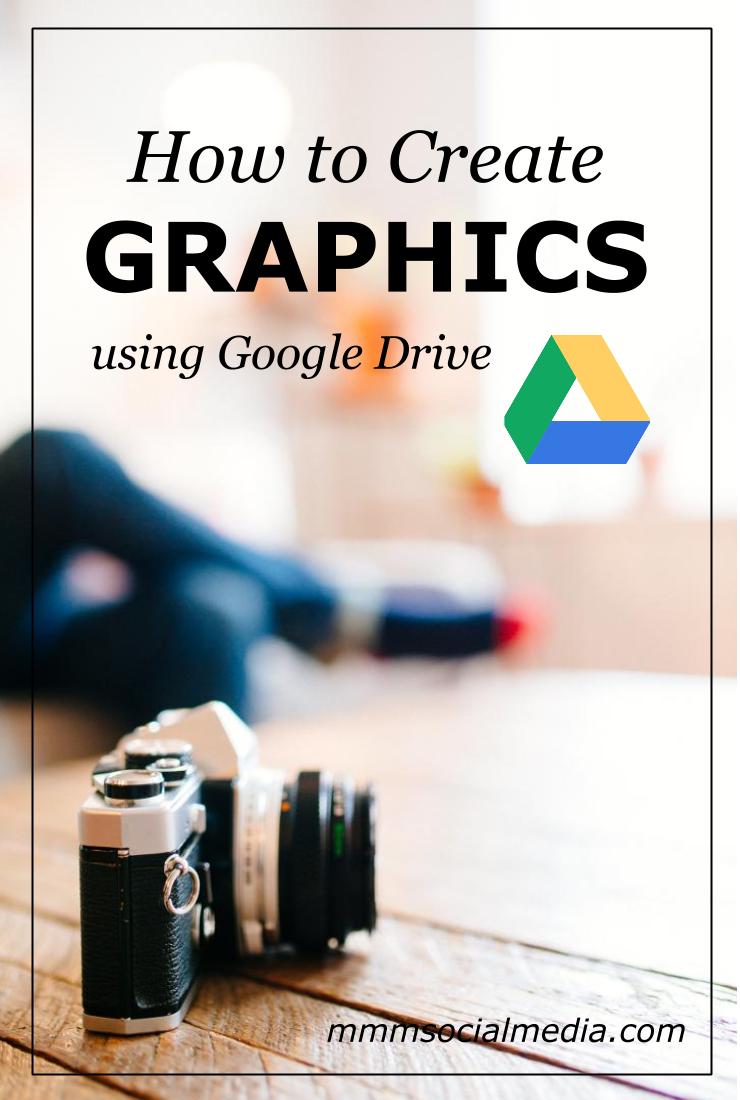
If you can upload an image and use PowerPoint, you can use Google Drive Drawings to create images for your business. Below are some examples of these share-friendly images. Notice how the company’s website or logo is on each image? This watermark is an important piece to building your brand. Also take note of the font styles and sizes. Use these factors to keep the image visually interesting.


Google provides basics instructions on how to use the drawing program here.
What you need to know is how to get the image onto your computer once you’re done creating it. This way you can share it on Facebook, use it in blog posts, or add it to your emails.
How to save these image on your computer:
1. Open a new drawing.
You can make a copy of this template or create your own using a custom Page Setup.
[one-half-first]
 [/one-half-first][clear-line][one-half]Or go to File > Page Setup > Custom
 [/one-half][clear]
2. Drop in your background image.
Place your background image. Then, set the text and watermark.
[one-half-first]
 [/one-half-first][clear]
[one-half]Send the image to the back so your text box show up on top.
 [/one-half][clear]
3. Download as a JPG file.
A .jpg file is a good image format for sharing on social media.

That’s it! Now take these new images and share them on social media. If you enjoyed this post, please consider sharing it using the buttons below.
Happy Marketing,
Danielle


Great post. I never knew that Google Drive allowed you to add text to an image. Thanks for the tip!
Thank you for the tip. First time for me too. I hope that you don’t mind that I pinned to my pinterest board
~ Timothy